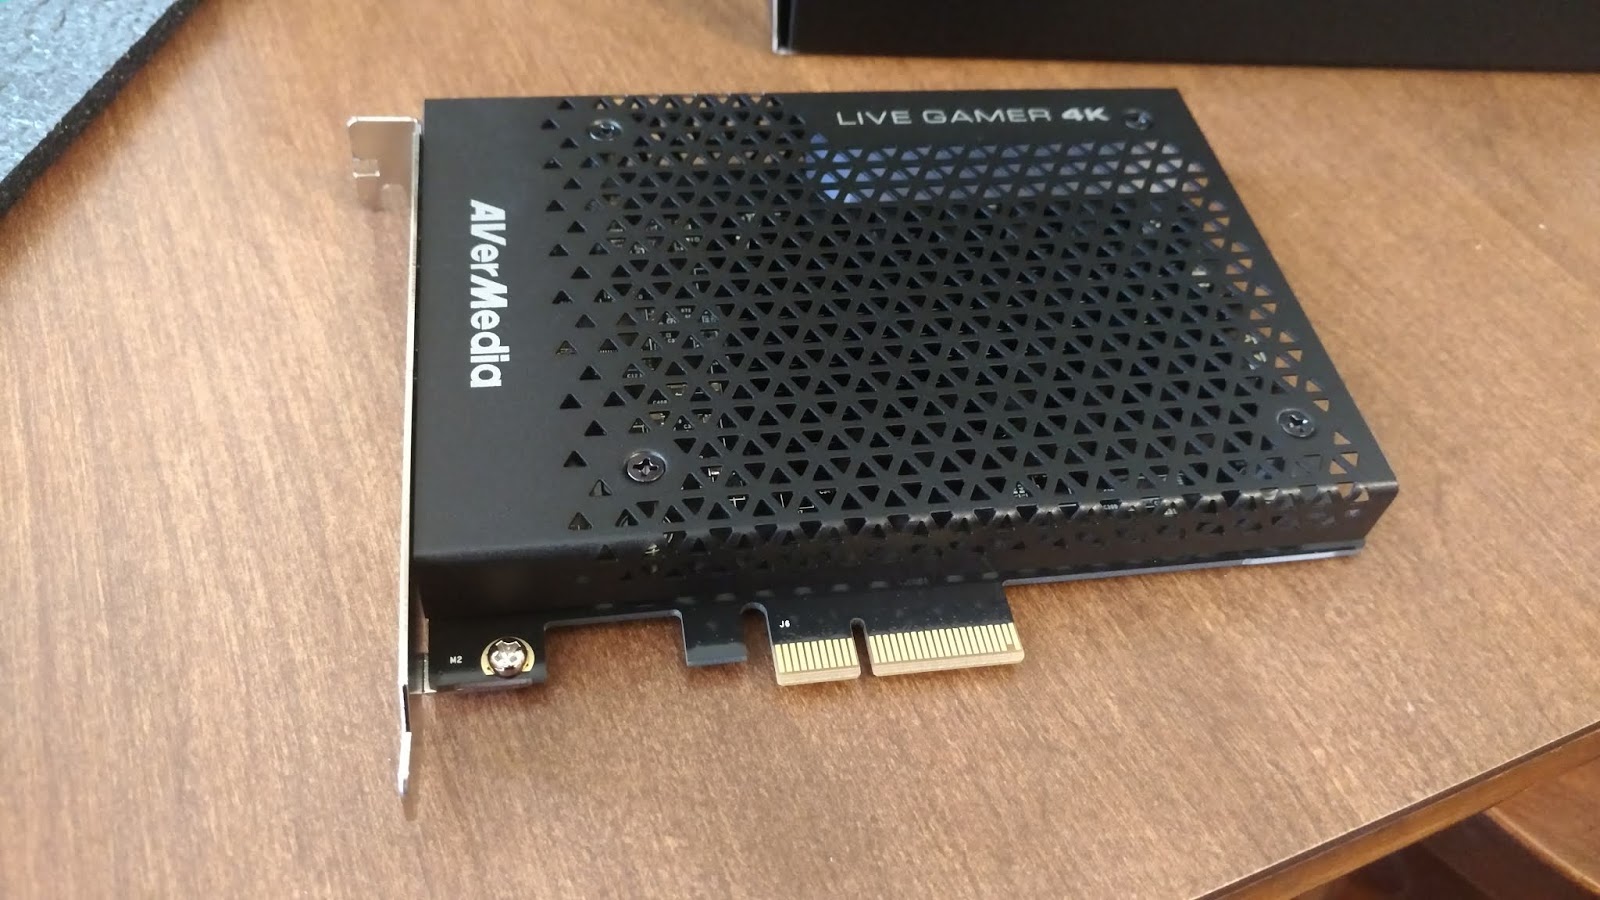
I recently purchased a new capture card,he AVerMedia GC573 LIVE GAMER from Amazon for a little under $300. This card is capable of not only passing through 4K HDR signals but recording them as well. I wanted to write up a quick post laying out my reason for purchasing this card as well as my experience setting it up and what I hope to accomplish with it going forward.
Problems created by new TV
Back in February when I got my TV (my LG 55C7P OLED) I knew there was going to be a problem in doing my game streaming / recording thing because the capture card I was using at the time, the Elgato HD60 pro not only could not record in 4K or HDR, but it could not even pass the signal through to the TV. This meant that if I wanted to record or stream Xbox One X enhanced games, I would have to lower the system settings to 1080P and turn off HDR and thus reduce the quality of my gaming experience (and not taking full advantage of the expensive new TV I had just bought). The other option was that I could only record / stream games that were not X enhanced (or games on other systems). I choose neither as I have not streamed a play though of a game since completing Okami HD. I have also not been playing many games in general since then as I had fallen into a bit of a depression (common for me) that has resulted in the last 6 months flying by for me with no real point to it. Both my gaming and my blogging as well as other projects I had in mind suffered as a result. I knew I had to find a way to solve or get around this capture card issue one way or another.
Search for a solution
I had actually began looking for a way to solve this capture card issue before I even ordered my TV but at the time the options were not so good. I first noticed that Elgato had released a 4K Capture card for $400 (the one that Jeff Gerstmann of Giant Bomb bought) that seemed promising until I read that it did not record or pass through HDR signals (an firmware update has since added HDR pass through but not recording) and that it was rather bare bones in its feature set when compared to my lower end HD60 pro. Based on what Jeff has stated in episode of the Giant Bombcast, he has not been very satisfied with his Elgato 4K60 Pro so gave up on that. I then looked into 4K splitters and downscalers as a way to at least allow me to play games at 4K HDR while recording them at 1080P SDR but I was overwhelmed by the complexity of that arrangement as well as the concerns I had about the amount of lag that would be introduced from adding two more HDMI devices to the setup. I did find one device that would do splitting and scaling but it was $400, the same price as the Elgato 4K60 Pro. I had given up hope until a little under a month ago when I did a google search for 4K HDR Capture cards and found an article about AVerMedia and its plans to release a set of budget 4K capture cards and one of them was exactly what I wanted and it was $100 cheaper than the Elgato 4K60 Pro. After a little hemming and hawing I ordered the card a couple of weeks ago and it arrived on July 10.
Setting up new Capture Card
The card arrived a day earlier than I expected. I unplugged the desktop tower and removed it form its cozy spot under my desk (gouging the bottom of it in the process) removed the side panel and went to insert the card where the old one was installed. The new card did not fit the expansion slot as it had a different and larger connector. Out of desperation (and fear that I would have to return it) I tried one of the free larger expansion slots where graphics card usually go and it fit (if a bit wobbly) also taking the chance to go over the inside of my messy and cluttered Tower with a compressed air can. After putting the PC back together and hooking all the USB and HDMI cords back into (no small feat mind you) I started tinkering with it. At first I was getting about 18 FPS when recording at 4K HDR which made no sense. I had looked up the required specs and my rig (with its I7-6700K and GTX 1060) met them for 4K 60 recording. I tried tinkering with the setting but the best I could do was 4K 30 or 1440P 60 and HDR was out of the question. I had resigned myself to the idea that my PGU was not good enough and started formulating plans to upgrade either around black Friday or spring of next year (hoping by the the rumored Nvidia 11 series would have come out). When I tried to stream I was getting only 7 kbps up which really made no sense as my internet upload speed was about 11 Mbps. I feared once again that I would have to return the capture card as I it might have been faulty. Before I went through that annoying step, I gave it one last try, I opened up the case once again and tried a different empty GPU expansion slot and really made sure the connection was solid. I then went into the Bios and set both expansion slots into 3rd gen mode. One or both of those changes must of worked because when I booted it up an ran Recentral (the cards default capture software) I was now getting 4K 60 even in HDR. I made a quick test video and uploaded it to my YouTube channel which I will embed below. Needless to say I was impressed by the results.
(Video is in 4K HDR)
Despite being only about 10 minutes long the test video was over 6 GB in size and took over two hours to upload and process. As my long play videos tend to be 1-2 hours long I know that I will have to lower the settings from the "optimal" preset (150 Mbps). I will try 75 Mbps and see how that goes in terms of video quality and file size and upload times. I could go down to 50 or up to 100 but I will have to do some more work on it. At 150 Mbps the video quality was indistinguishable to my eyes from when I was playing the game so I can definitely go lower than that and still get good looking results. I plan to get back into doing long play videos and really exploring and making use of my awesome new TV and Xbox One X. I have not yet decided what my first game will be with this new capture card (and I still need to do some test streams as well). I will be uploading these long play videos instead of streaming them as at 10 Mbps (which is what I was streaming at) too much detail will be lost for my liking. Things do seem to be looking up for me (at least for the moment anyway).
Since it has been a while since my last post and I have not done Videos on either of my YouTube Channels in a while I might as well contrive an excuse to make a post about something. To that ends I will post some pictures of my Entertainment Center as it is in early Summer 2018. I gave a glimpse of it when I got my TV back in February but this will be a little more in depth. I have also made some changes and additions to my set up so this post will features those as well.
This desk is placed behind the couch which is angled so that people sitting on it do not obstruct the view of the TV from the desk. The TV is placed between the two PC monitors. The game rack to the right does an okay job of concealing the many wires that run between the PC and the TV
This setup is designed to accommodate multiple things.
It has the couch close to the TV for that big screen experience for console gaming, movie, live TV & streaming, and couch PC gaming.
It has a multi monitor setup for the desktop situated behind the couch giving me a good view of the TV from the desk even when people are sitting at the couch (good for groups and lets play videos).
The PC Tower is right next to the dining room where my Oculus Rift VR Room scale setup is located.
The net result of the setup is a relatively cramped but effective living room space that seems to suit my needs quite well. Most people would probably look at my small living room and think that a more open setup would be better for a normal person but since I am far from "normal" I can deal with its tightness. I am glad this setup works for me as well as it does.